
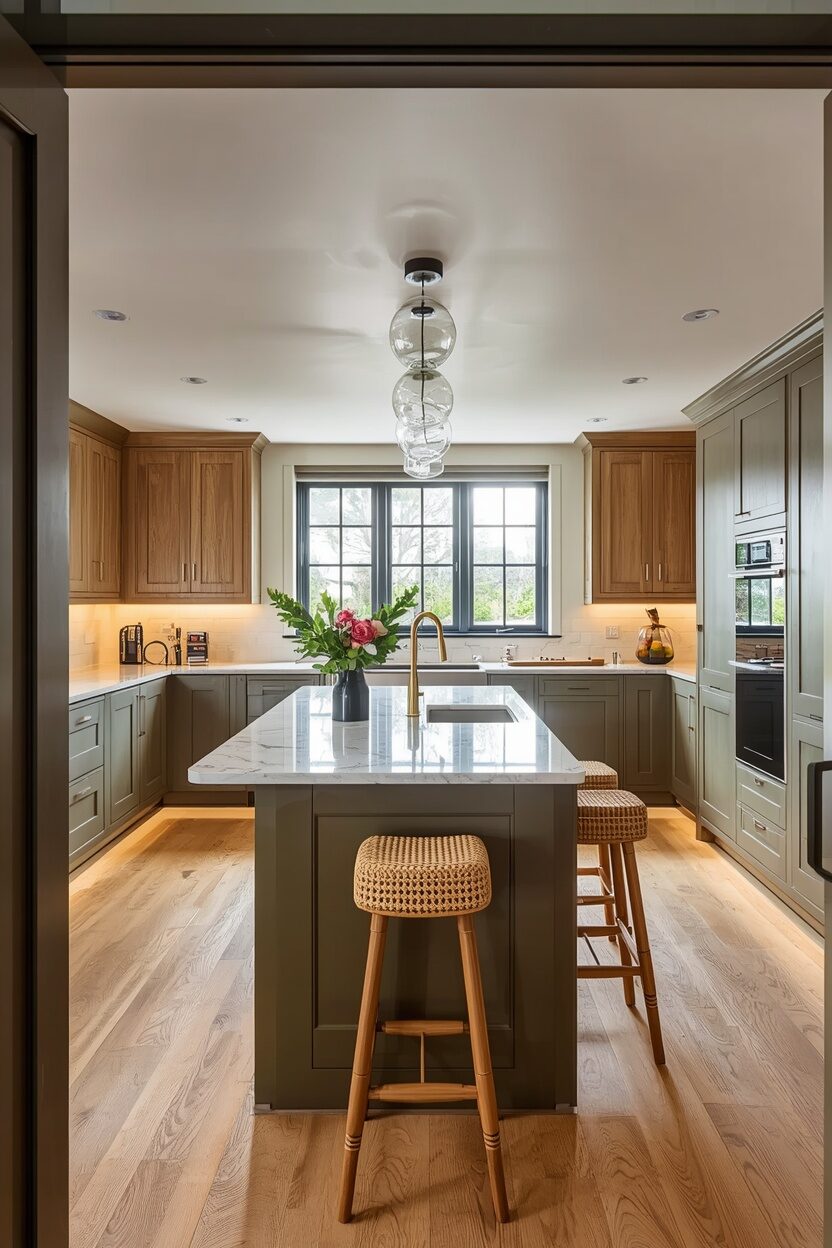
Most kitchen renovation regrets are not about colour. They are about a dishwasher door that hits the island, a bin nowhere near the sink, and a beautiful worktop that stained the first time someone left a lemon on it.
The decorative decisions get all the attention because they are the fun part, and they are also the cheapest to change later. What follows puts the expensive, permanent decisions first — layout, clearances, storage, ventilation — and the surface choices after, with the actual numbers and trade-offs behind each one. If you read nothing else, read the first two.
1. Settle the layout before you look at a single door front
The order people naturally work in is backwards. They choose cabinet colour, then worktop, then discover the fridge cannot open fully because it sits too close to a wall.
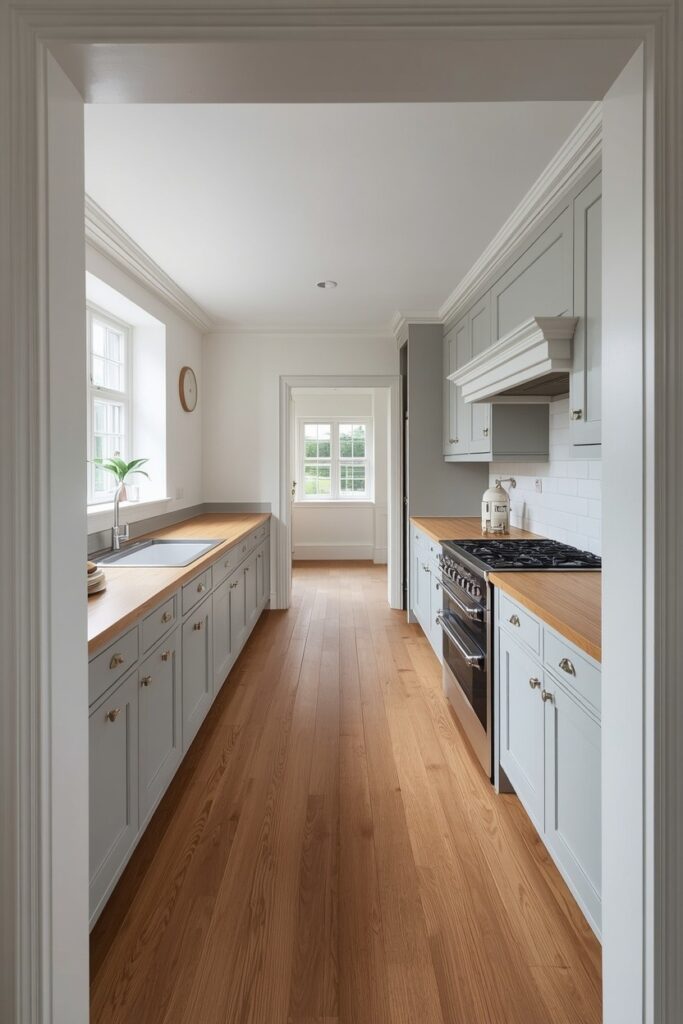
Start with movement instead. The classic sink–hob–fridge triangle still holds: no leg shorter than about 4 feet or longer than about 9, and nothing permanent in the middle of it. Walkways between opposite runs want 42 inches minimum in a single-cook kitchen and 48 if two people work in there at once — below 36 and you are squeezing past each other daily for the next fifteen years. Then check every door swing on paper: dishwasher, oven, fridge, and the bin drawer, all opened at the same time. That drawing costs nothing and prevents the most expensive category of mistake there is.
2. Only add an island if the clearances genuinely allow it
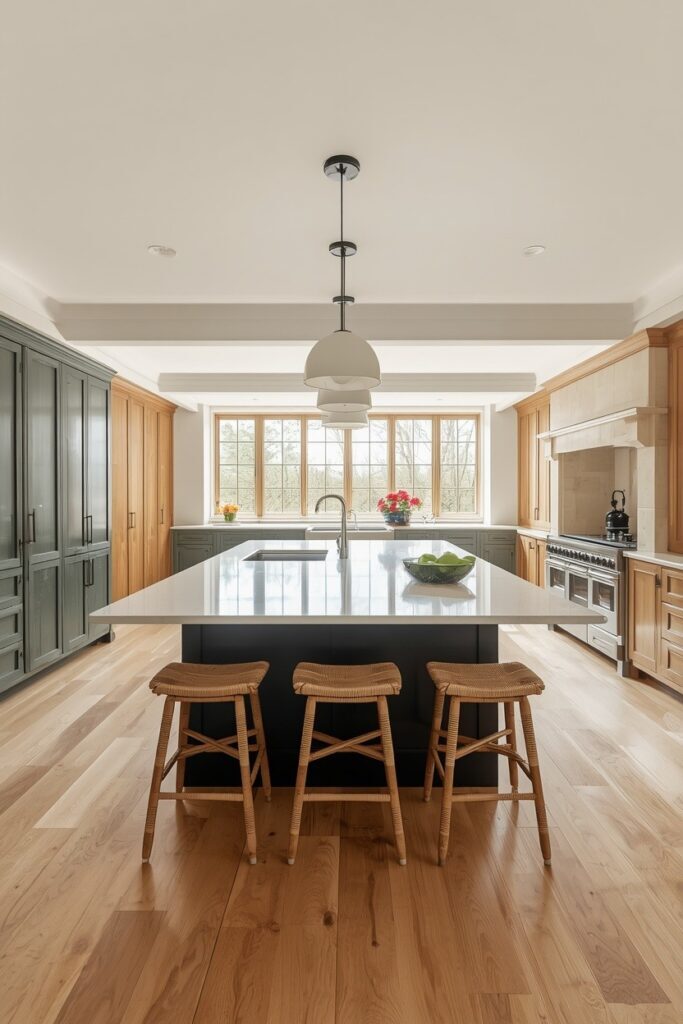
Islands are the most requested feature in any kitchen remodeling brief and the one most often forced into a room that cannot take one.
The arithmetic is unforgiving. You need at least 42 inches of clear floor on every side you walk down, and 48 where someone will stand and work with an appliance behind them. Add the island’s own depth, usually 36 to 42 inches, and you need a room around 13 feet wide before an island stops being an obstacle. If yours is narrower, a peninsula attached at one end gives you most of the extra worktop and seating with clearance on only two sides. For seating, allow 24 inches of width per stool and a 12 to 15 inch overhang, or people sit sideways with their knees in the cupboard.
3. Take the cabinets all the way up
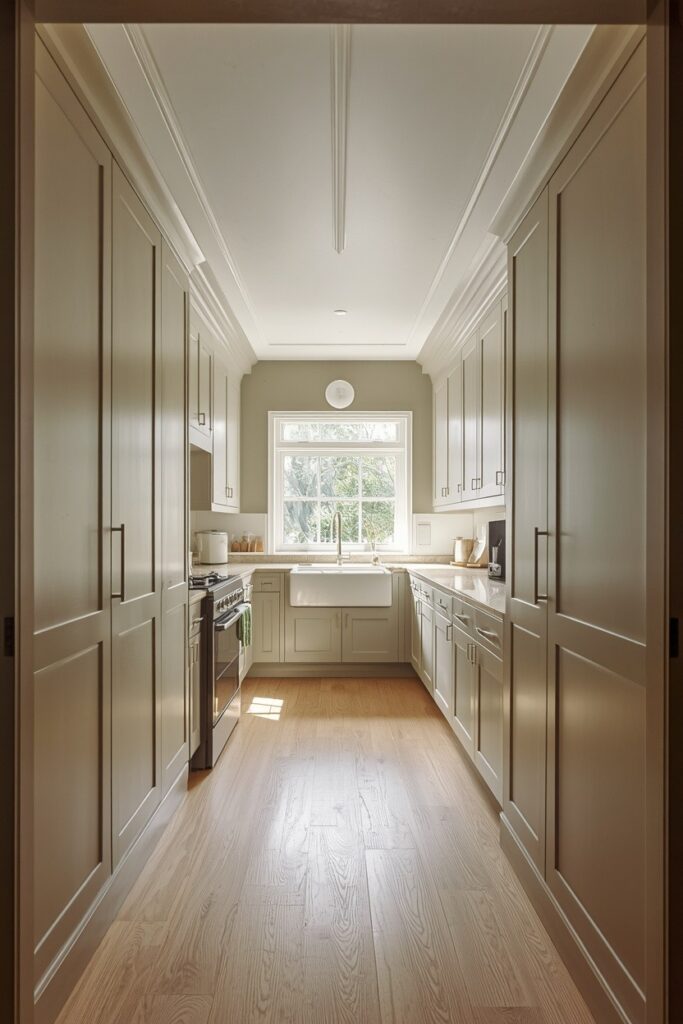
That 12 to 18 inch gap above standard wall units has one function, and it is collecting grease-bonded dust that nobody can reach.
Running cabinetry to the ceiling gives you a full extra shelf of storage — the right home for the roasting tin you use twice a year — and it makes the ceiling read higher because the vertical line is uninterrupted. If a full-height run feels heavy, cap it with a shallower row of doors in the same colour, or bridge the gap with a simple painted panel. In an older house with an uneven ceiling, a slim scribed fillet at the top hides the variation. Whatever you do, don’t decorate the gap with baskets and jugs. It’s storage, not a shelf.
4. Replace base cupboards with deep drawers
If there is one upgrade in a kitchen renovation that people rave about years later, it is this, and it is invisible in every photograph.
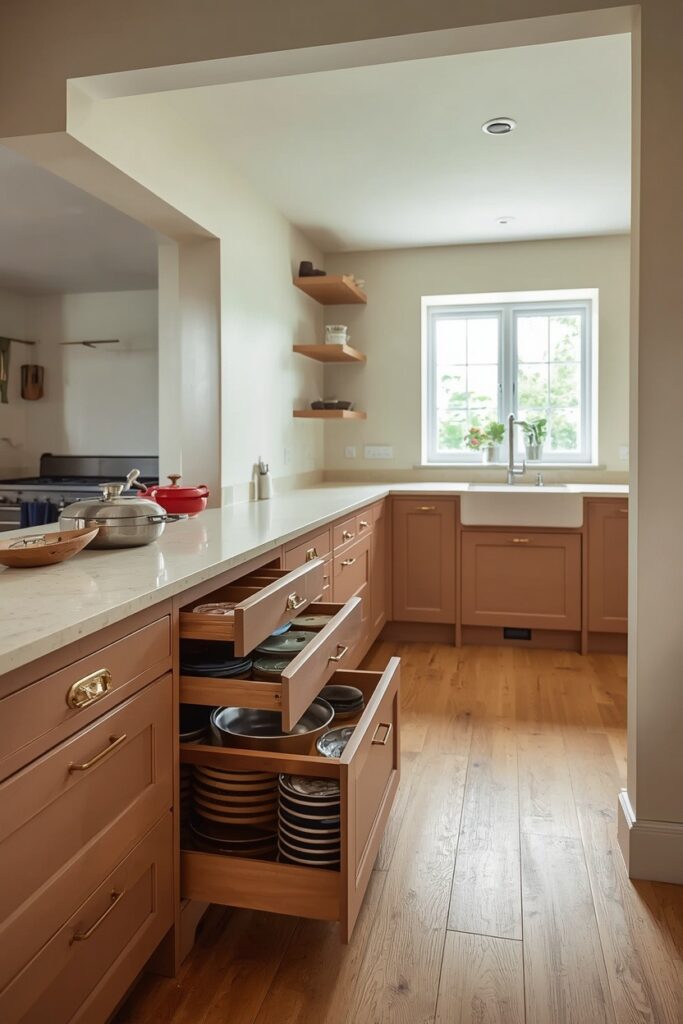
A base cupboard means kneeling on a hard floor and reaching into a dark cave for the pan at the back. A deep drawer brings the entire contents out to you at standing height. Two big drawers, roughly 12 to 14 inches deep each, will hold pans, casserole dishes, and lids far better than a cupboard of the same volume. Run them on soft-close full-extension runners rated for the weight — cheap runners under a drawer of cast iron will sag inside two years. The only cupboards genuinely worth keeping at floor level are the ones under the sink, where the plumbing lives anyway.
5. Two-tone the cabinets, dark below and light above
An all-one-colour kitchen can look either serene or relentless, and in a room this size the odds are not in your favour.
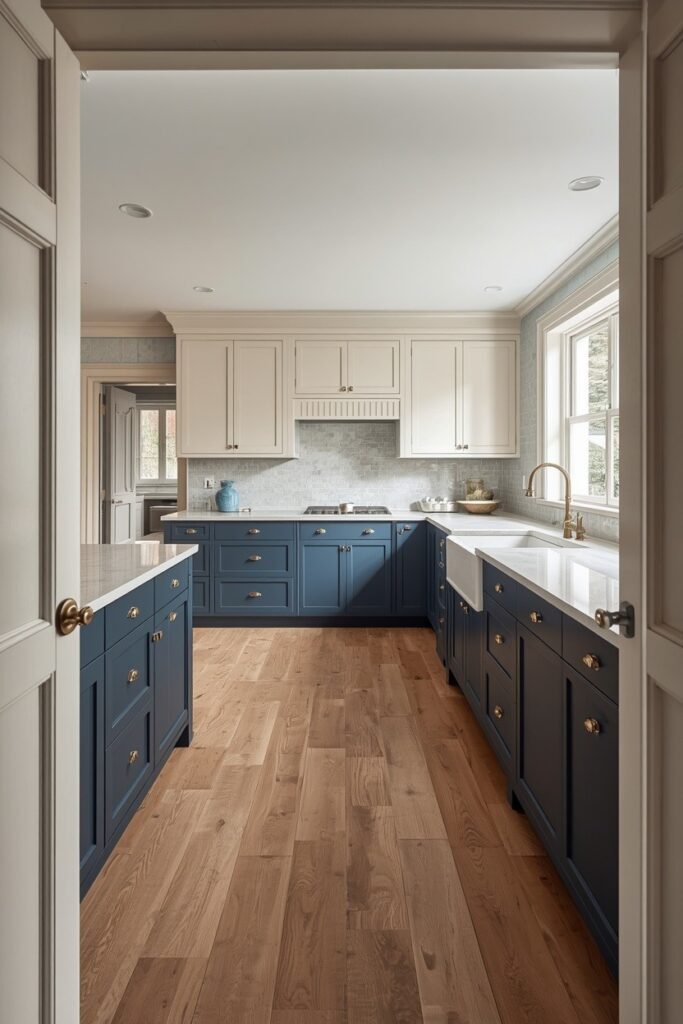
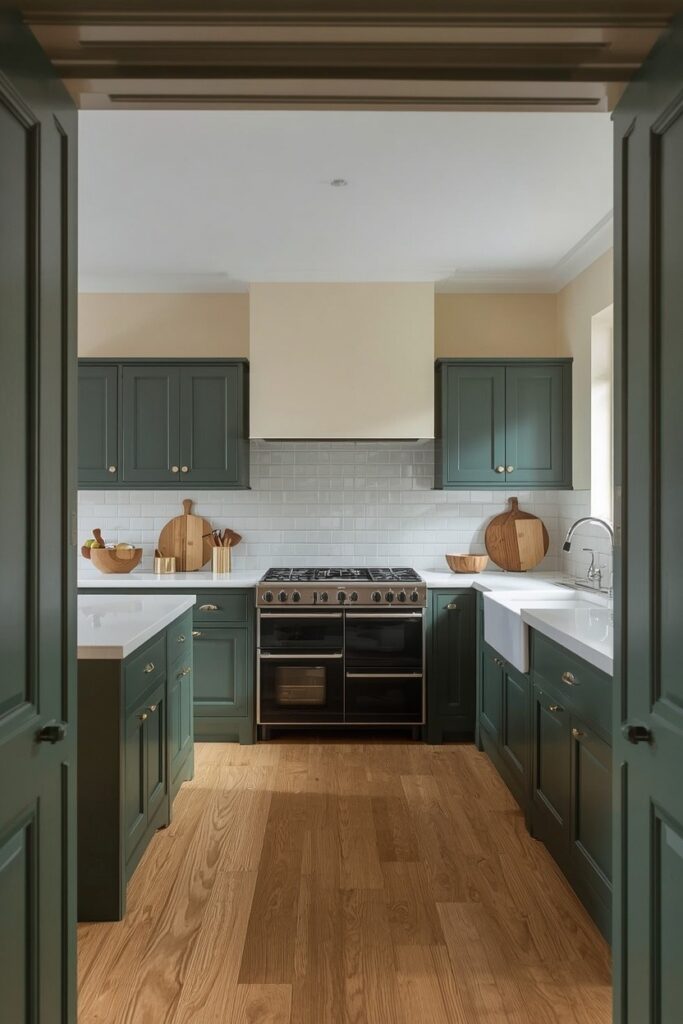
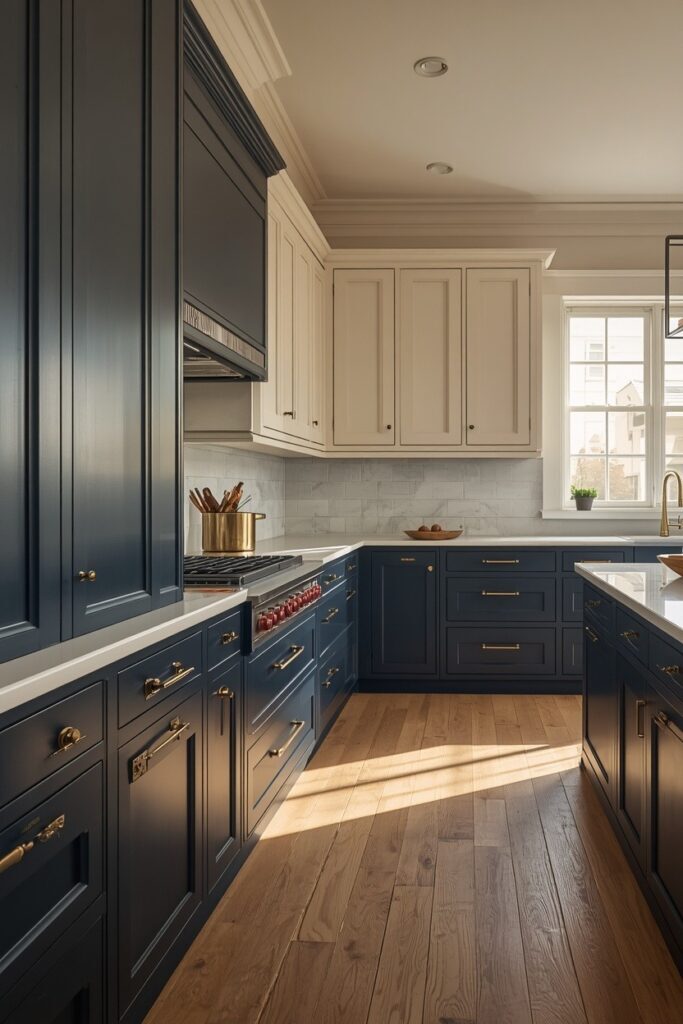
Splitting the palette is the safer and generally better-looking choice: a deeper, more saturated colour on the base units and island where the eye reads weight, and something lighter above so the upper half of the room stays open. Muted, slightly dusty shades hold up longest — an olive that leans brown, a deep clay, an ink blue with green in it, a soft charcoal with warmth. Keep the handles and the worktop consistent across both tones so the split looks planned. It also means when you tire of the base colour, you’re repainting half a kitchen rather than all of it.
6. Be honest about worktop materials before you fall in love
This is where taste and reality collide most expensively in a kitchen renovation, so here is the plain version.
Engineered quartz is hard, non-porous, needs no sealing, and shrugs off wine and lemon juice — but it can scorch under a hot pan and the veining is printed rather than geological. Marble is genuinely beautiful and genuinely soft: it etches when acid touches it, and it will do so in the first month, permanently, and you have to be a person who finds that charming. Solid timber is warm and repairable by sanding, but it demands oiling a few times a year and hates standing water near the sink. Sintered stone handles heat and acid better than any of them and costs accordingly. Pick the compromise you can live with rather than the one that photographs best.
7. Run the splashback to the underside of the units
A 4 inch upstand and then painted wall above it is the standard builder’s solution, and it leaves you scrubbing grease off emulsion for the next decade.
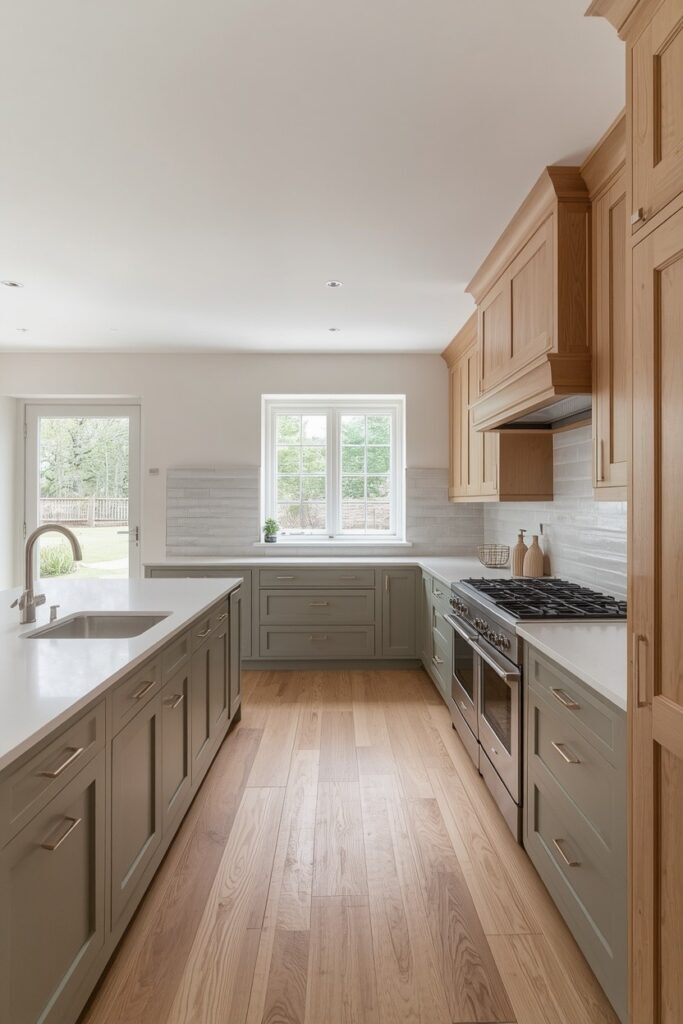
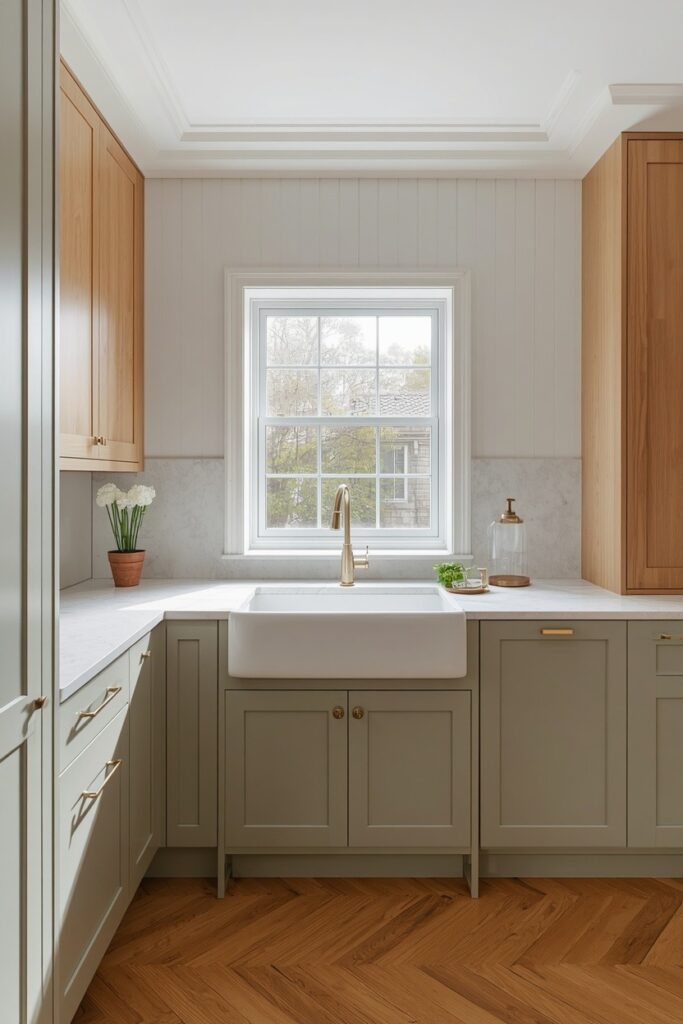
Take the splashback all the way up to the underside of the wall cabinets, and behind the hob, run it to the extractor. The visual effect is worth as much as the practical one: an uninterrupted surface makes the run of cabinetry look built-in rather than assembled. A full-height slab of the same material as the worktop is the calmest option. Zellige or handmade tile brings texture and light movement, though the grout lines behind a hob need a decent epoxy grout or they will discolour. On a wall with no upper cabinets, take it to the ceiling and let it be the feature.
8. Light the worktop, not the ceiling
A kitchen lit by one central fitting puts you in your own shadow every time you stand at the counter to chop something. It is the most common lighting failure in a remodelled kitchen and one of the cheapest to prevent — provided you plan it before the plastering.
Three layers, wired on separate circuits. Under-cabinet strips or spots lighting the work surface directly. Ceiling downlights positioned over the front edge of the worktop rather than dead centre of the room, so your body isn’t between the bulb and the chopping board. Then something decorative and warm over the island or table for the hours when the kitchen is a sitting room. Keep everything at 2700K to 3000K and put as much of it on dimmers as your electrician will allow.
9. Spend properly on the extractor
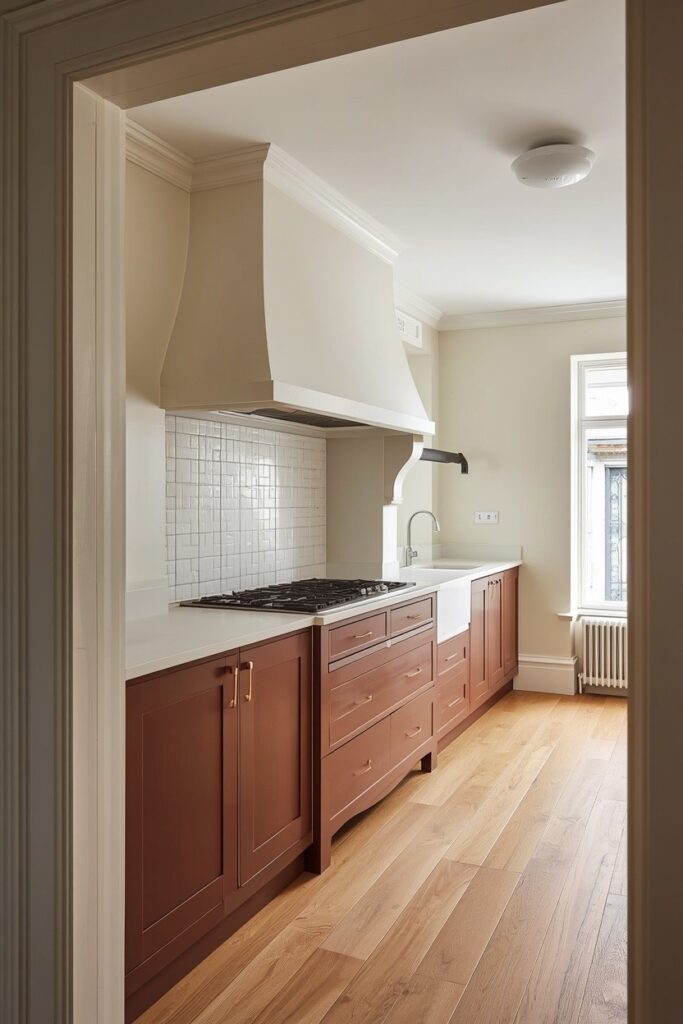
Nobody has ever posted a photograph of their ventilation. It is still the thing that determines whether your new cabinets smell of last night’s fish in three years.
Match the extraction rate to the room volume and the hob, vent externally wherever it is physically possible, and treat recirculating charcoal filters as the fallback rather than the plan — they remove some grease and very little moisture. The hood should be at least as wide as the hob and ideally a few inches wider, mounted around 24 to 30 inches above an electric hob and higher above gas, per the manufacturer. Check the noise rating in decibels before buying; a powerful extractor you refuse to run on full because of the racket is no extractor at all.
10. Choose the sink and tap as one decision
These two get chosen last, usually in a hurry, and you use them more than anything else in the room.
A single deep bowl beats a bowl and a half for anyone who washes roasting tins — a divider halves your usable space to gain a compartment most people never use. Undermounted into a solid worktop means you can sweep crumbs straight in and there’s no rim to trap grime, though it rules out laminate. For taps, a pull-out spray head earns its money daily, and check the height clears your tallest pan while still fitting under any window that opens inwards. That last detail catches people out constantly, and it’s discovered after the hole is cut.
11. Build in a tall larder cupboard
Wall cabinets are shallow, awkwardly high, and force you to store food in single rows where the jar at the back expires unseen.
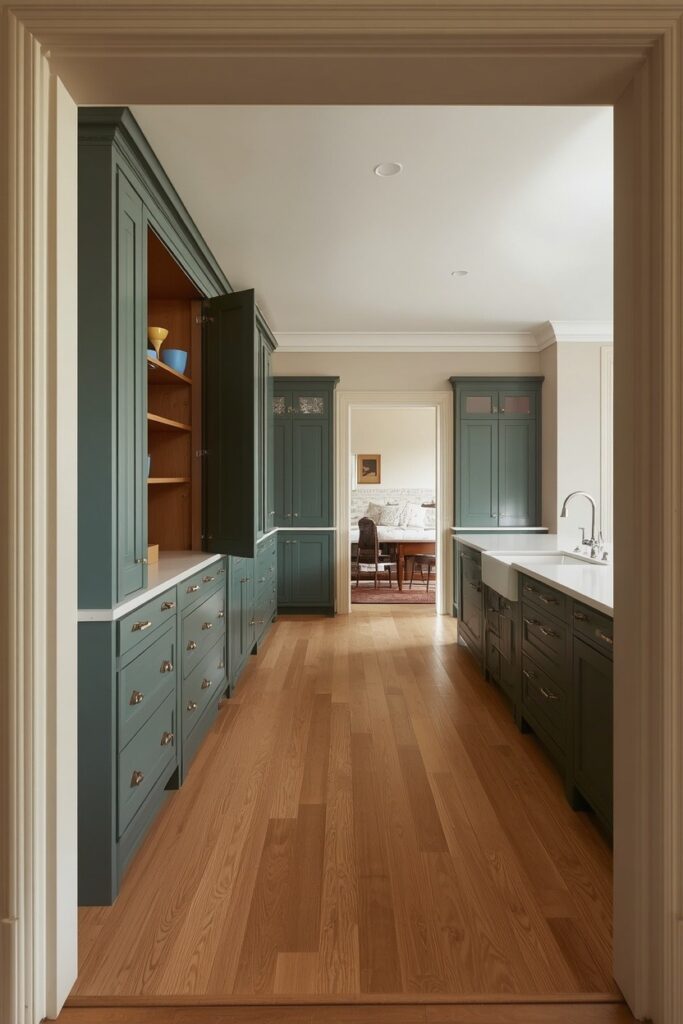
A full-height larder with internal drawers or pull-out shelving solves it: everything comes out to you, you can see the whole inventory at once, and it swallows the appliances that otherwise colonise your worktop. Around 24 inches wide is the useful minimum; 36 is transformative. Fit an internal shelf at counter height and it becomes a coffee or breakfast station behind a door, complete with a socket if you plan the wiring early. Of everything in a kitchen remodel, this is the item people most often say they wish they had made wider.
12. Treat handles as the jewellery, and buy them last
Handles are the cheapest way to change the character of a kitchen and the easiest thing to swap in five years, which is exactly why they should not be decided in month one alongside the cabinets.
Wait until the doors and worktop are chosen, then hold samples against them in the actual room light. Aged brass warms a cool grey or green scheme; matte black sharpens pale cabinets; unlacquered brass will patinate and darken with handling, which is either the appeal or the problem depending on you. Mix formats deliberately — long bar pulls on deep drawers, small knobs on wall cabinets — rather than using one size everywhere. Buy one sample of each finish before ordering thirty. Photographs of metal finishes are almost never accurate.
Where I’d start if I only did three things
Layout, drawers, lighting. In that order, and before a single decision about colour.
Fix the clearances and door swings on paper and you avoid the mistakes that cannot be undone without ripping units out again. Swap base cupboards for deep drawers and you change how the kitchen works every day for the rest of its life. Wire in three lighting layers while the walls are open, because retrofitting under-cabinet lighting afterwards means either surface trunking or lifting the plaster. Cabinet colour, handles, and splashback tile are all reversible. These three are not.
FAQ
Can I do any of this without a full kitchen renovation?
A surprising amount. Replacing doors and drawer fronts on sound carcasses gives you a new-looking kitchen for a fraction of the cost, and it’s the point at which two-tone colour and new handles become an afternoon rather than a project. Under-cabinet lighting is available in plug-in and battery versions that need no wiring. Drawer inserts, pull-out organisers, and a new tap all fit existing units. What you can’t retrofit cheaply is the layout — so if the clearances are the actual problem, partial work won’t solve it.
What’s a realistic order of works so the project doesn’t stall?
Structural changes and any wall moves first, then first-fix plumbing and electrics while the walls are open, then plastering, then flooring if it runs under the units, then cabinets, then worktop templating — which happens after the cabinets are installed and takes one to three weeks to fabricate. Splashback, second-fix electrics, appliances and handles come last. The worktop gap is the stage people forget, and it is why kitchens sit unusable for a fortnight in the middle.
Is open shelving a mistake in a real working kitchen?
Not a mistake, but be clear about the deal. Anything within a few feet of a hob collects an airborne film of grease that bonds to dust, so open shelves near cooking need wiping weekly and everything on them needs washing before use. They also demand that your crockery looks good and stays tidy, permanently. The compromise that actually holds up: open shelving on the wall furthest from the hob, closed cabinets everywhere else.
How do I make a small kitchen feel bigger during a remodel?
Continuity, mostly. Run the flooring in one material without a threshold at the doorway, match the splashback to the worktop so there are fewer visual breaks, and take the cabinets to the ceiling. Choose one worktop colour close in tone to the cabinets rather than a high-contrast pairing. Then get the clutter off the counters, since visible worktop is what actually reads as space — which is why a tall larder cupboard is worth more in a small kitchen than in a large one.
Conclusion
Every good kitchen remodel is decided in the boring stage — the clearances, the drawer runners, the extraction, the wiring plan. Get those right and almost any colour scheme laid on top will look considered; get them wrong and no amount of beautiful tile will make the room pleasant to cook in.