
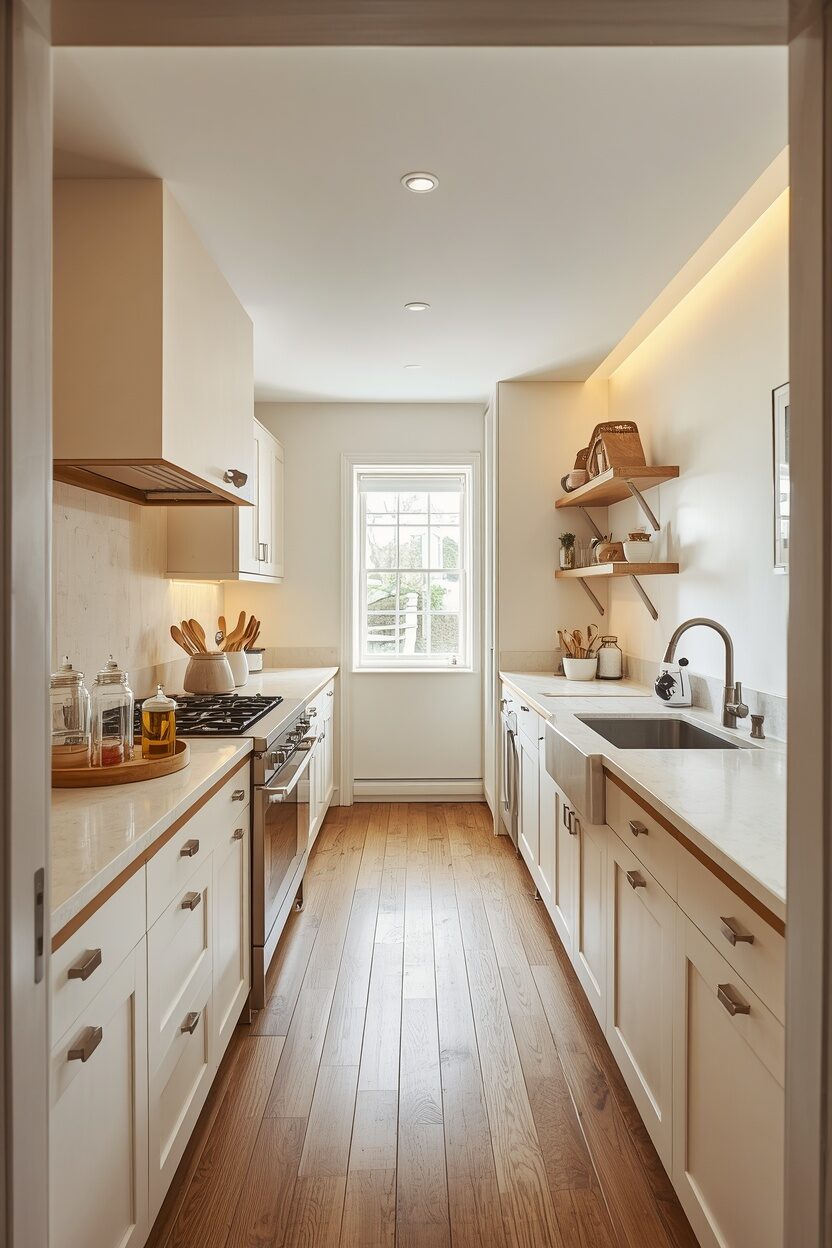
Counters get cluttered for one reason: nothing has been told where it belongs, so everything defaults to the nearest flat surface. Buying more containers does not fix that. It just gives the clutter better packaging.
What actually holds is a set of rules — what earns a permanent spot, which stretch of counter is allowed to hold anything at all, and what happens to the post when it walks through the door. Below are twelve of those rules, roughly in the order I’d apply them to a kitchen that has got away from you. Storage hardware matters too, but it comes second, and it works far better once these decisions are made.
1. Make everything earn its place with the daily-use test
Take everything off the counters. All of it, onto the table, so you are looking at bare surface. Then let items back one at a time, and only if you use them every single day.
That is a genuinely hard test and it’s meant to be. The kettle passes. The toaster probably passes. The blender you use on Sundays does not, and neither does the stand mixer, however handsome it is. The standing rule after that: aim to leave at least three-quarters of your total counter length clear. Once you cross that line, the surface stops reading as a work area and starts reading as a shelf — and a shelf attracts more objects, which is how this happened in the first place.
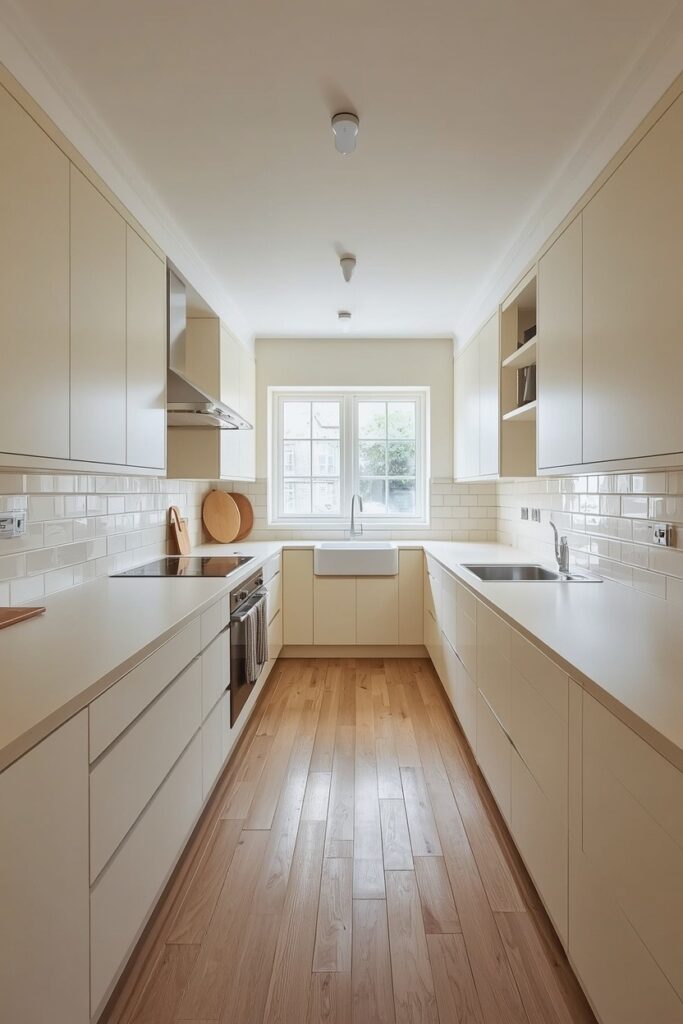
2. Divide the counters into zones and name them
An unzoned counter is a free-for-all. Once each stretch has a job, decisions about where things live stop being decisions at all.
Four zones cover most kitchens. The prep zone, ideally between sink and hob, which stays permanently clear. The cooking zone beside the hob, holding only oil, salt, and utensils in reach. The drinks zone near the kettle or coffee machine, with mugs directly above it. And the landing zone next to the fridge or the door, which absorbs shopping and school bags on the way in. Say the names out loud to the household once. The point of naming them is that other people can put things away correctly without asking you where anything goes.
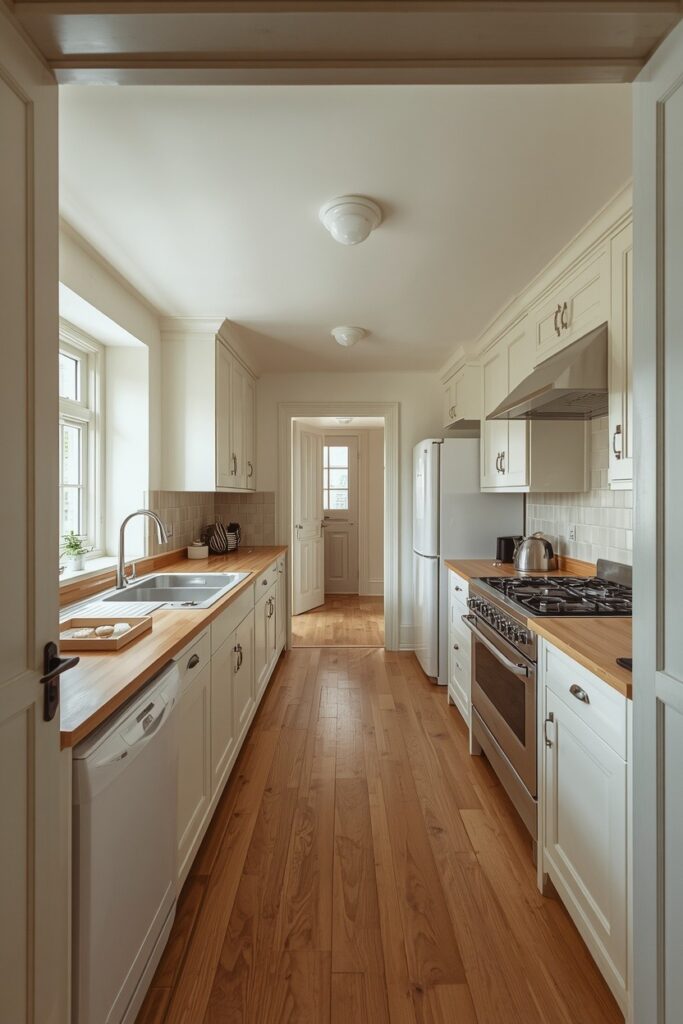
3. Protect one long stretch of empty prep space
If you only enforce one rule on this list, make it this one. You need a continuous run of clear worktop big enough to actually cook on, and it needs to be permanently defended.
Aim for 24 inches as an absolute minimum and 36 if the kitchen allows it, positioned between the sink and the hob so washed vegetables travel a short distance to the pan. Nothing lives there. Not a fruit bowl, not the kitchen roll, not the mail — because the moment one object lands, the surface reads as available and three more join it within a day. This is the difference between a kitchen that is tidy in photographs and one that is pleasant to cook a real meal in.
4. Give every group of items a physical boundary
Three objects scattered across a counter read as mess. The same three objects on a tray read as an arrangement, and the tray does something more useful than that — it stops the group growing.
Use a wooden or stone tray beside the hob for oil, salt, and pepper. A small ceramic caddy at the sink for dish soap and a brush. A shallow bowl in the landing zone for keys. The boundary is the whole mechanism: when the tray is full, something has to leave, and everyone in the house can see that at a glance. Trays also make cleaning trivial. Lift, wipe the whole surface in one pass, replace. A counter with six loose objects on it never gets properly wiped.
5. Move the things that only live there out of habit
Walk the counters and ask of each object: is this here because it belongs here, or because it was here yesterday? Most kitchens are storing at least four things on the worktop that have a perfectly good home elsewhere.
The usual offenders are the knife block, which takes a large footprint for a small job; the utensil crock stuffed with fourteen implements when you use four; the kitchen roll; the drying rack that never gets emptied; and the fruit bowl in the middle of the prep zone. Each has a better place — a drawer, a rail, a wall bracket, the table. Do this before you buy anything, because relocating things is free and it is often the entire solution.
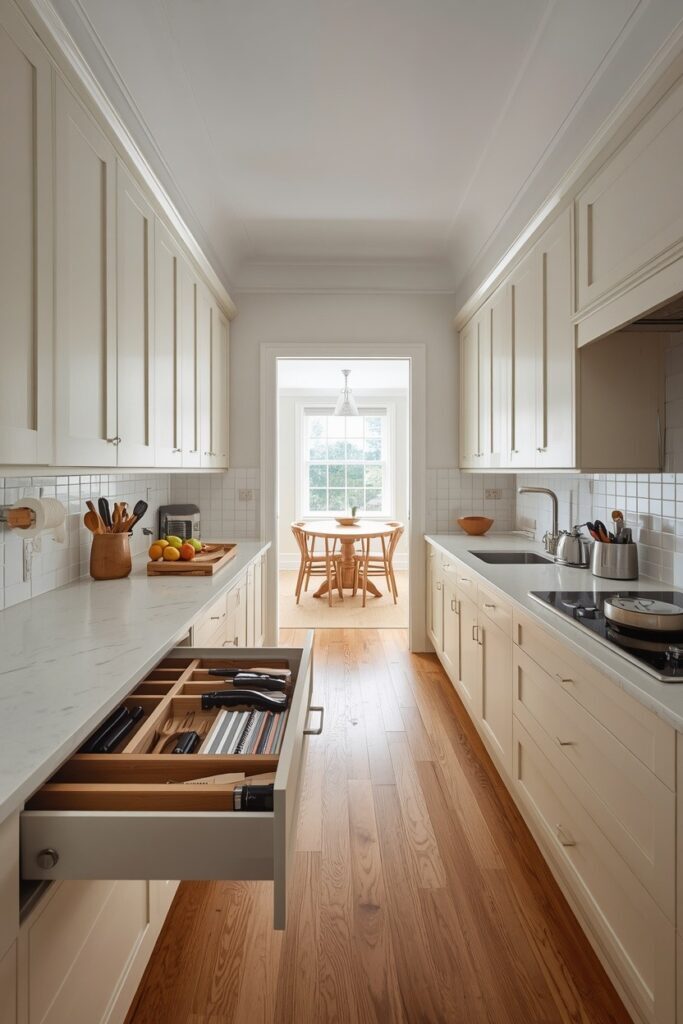
6. Cut the utensil crock down to what you reach for
That pot beside the hob is a small counter organization problem hiding in plain sight. Overfilled, it becomes hard to pull anything out of, which means the whisk you want is tangled behind two spatulas you have not touched in a year.
Empty it. Put everything in a box, leave the box in a cupboard for a fortnight, and return only the tools you actually go and fetch. In most kitchens that’s four to six: a wooden spoon, a spatula, a ladle, tongs, and a whisk. Everything else goes in a drawer with a divider. A crock holding six utensils standing loosely is quick to use and reads as considered. One holding twenty reads as a bouquet of clutter.
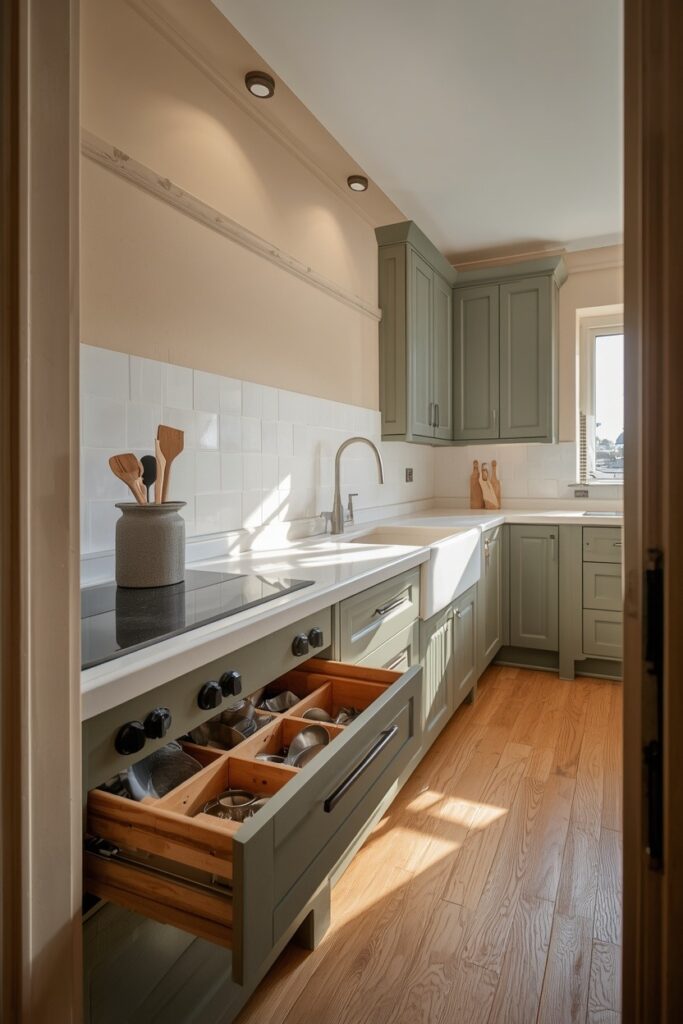
7. Decant only what you use daily
Matching canisters look wonderful and can quietly become their own problem — decanting everything means a wall of jars, most holding things you use monthly, plus the labour of refilling them.
Be selective. Decant the things you reach for daily and that look poor in packaging: coffee, tea, sugar, flour if you bake often, pasta or rice if it earns a spot. Everything else stays in the cupboard in its box. Choose containers you can open one-handed while holding a kettle, and write the cooking instructions and use-by date on a small label on the base or the back, because you will bin the packet and then need them. Glass over plastic if the jars are on show, since plastic clouds and scratches within a year.
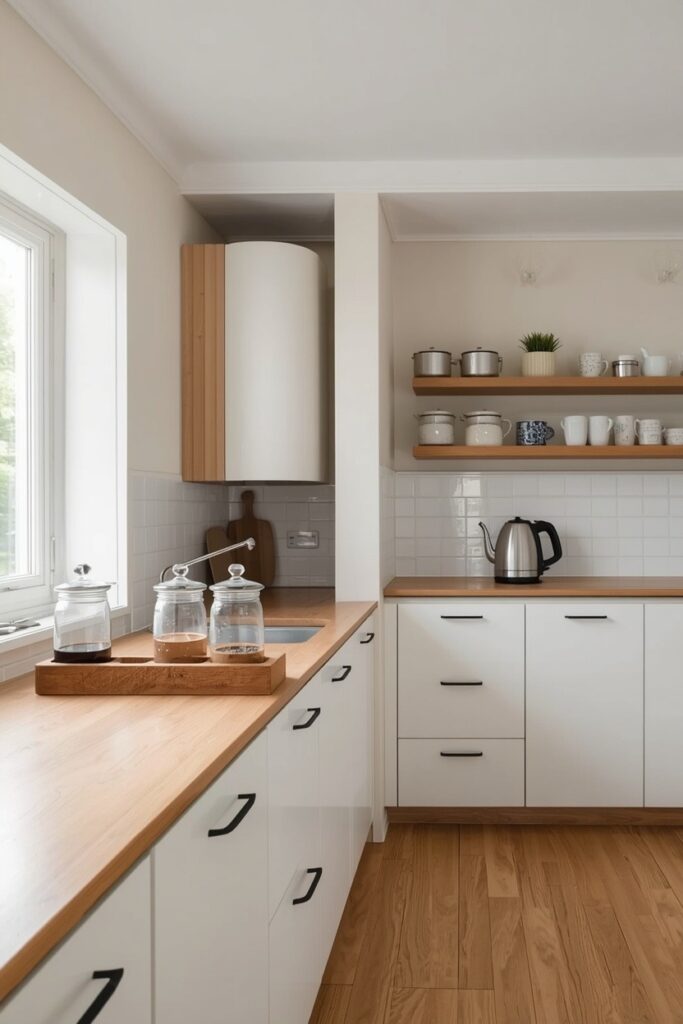
8. Store things where you first use them
Most counter clutter is really a walking-distance problem. Items end up on the worktop because putting them away properly takes seven steps and opening two doors, so nobody bothers on a weeknight.
Fix the distance instead of blaming the people. Mugs go in the cabinet directly above the kettle, not across the room. Chopping boards go in the cupboard nearest the prep zone. Pans go under or beside the hob. Cling film and foil go by the counter where you wrap leftovers. The test is simple: if putting something away takes more than one step and one door, it will end up on the counter eventually, and it is the layout at fault rather than the household.
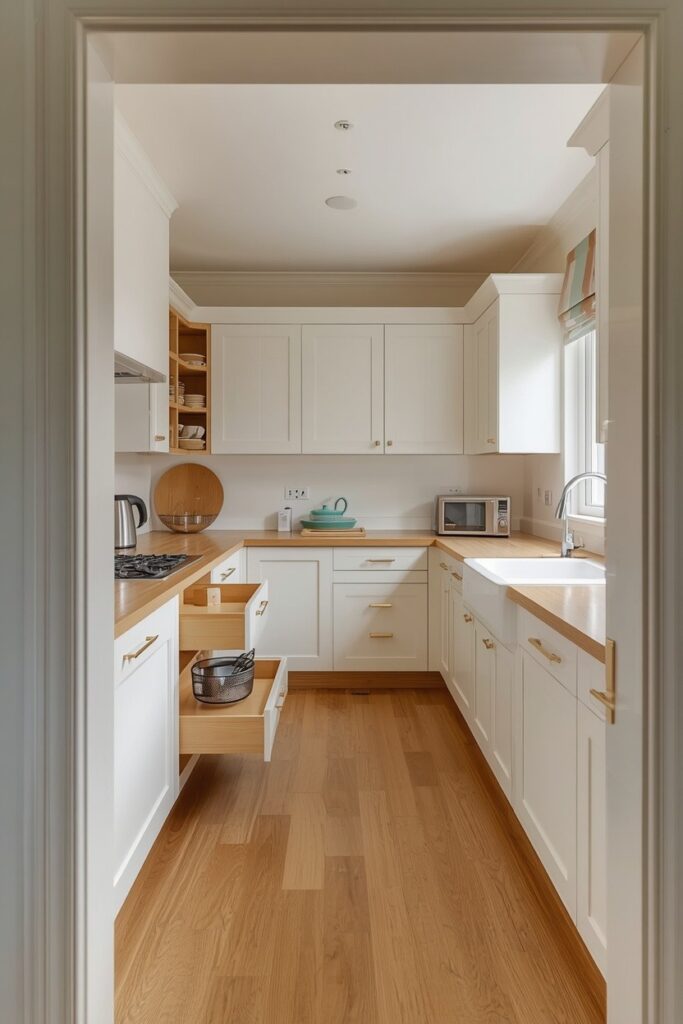
9. Deal with the paper before it settles
Post, school letters, receipts, and takeaway menus are the fastest-multiplying category on any kitchen counter, and unlike appliances they arrive daily.
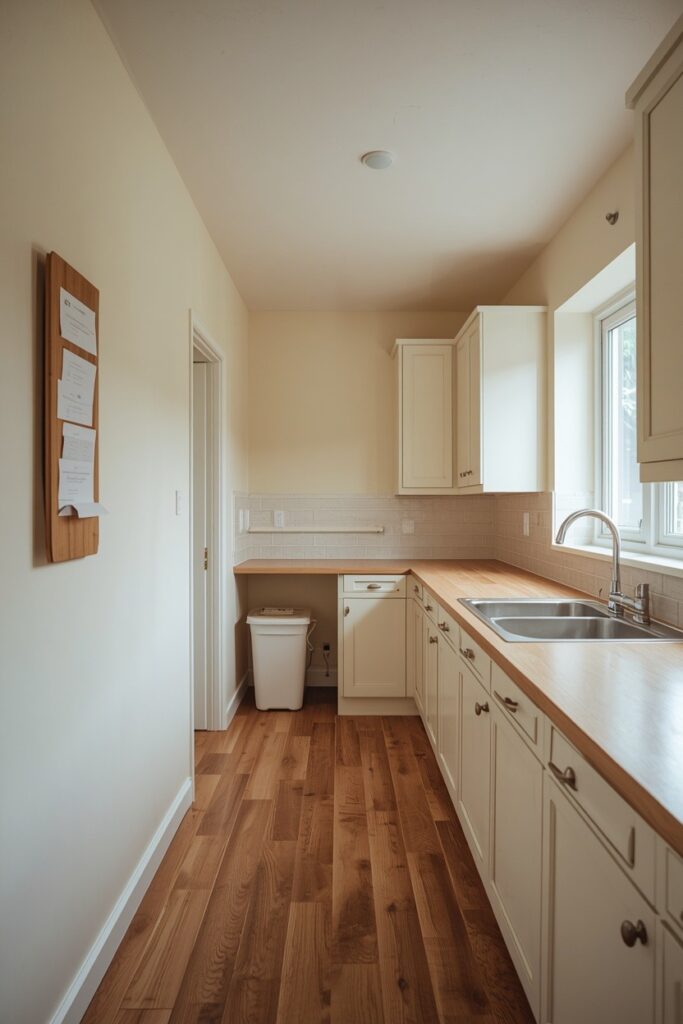
Give paper a single destination that is not the worktop: a wall pocket by the door, a slim magazine file inside the nearest cupboard, or a shallow drawer nominated as the paper drawer. Then open the post standing over the recycling bin rather than carrying it to the counter — that one habit removes most of the volume before it enters the room. Anything needing action goes on the fridge or in the pocket, never face-down on the counter, because a face-down letter is invisible within a day and permanent within a week.
10. Tidy the sink surround with one caddy
The area around the sink collects more small objects than anywhere else — soap, spray, a brush, a sponge, a scourer, hand cream, a bottle of something for the dishwasher — and each is individually justified and collectively grim.
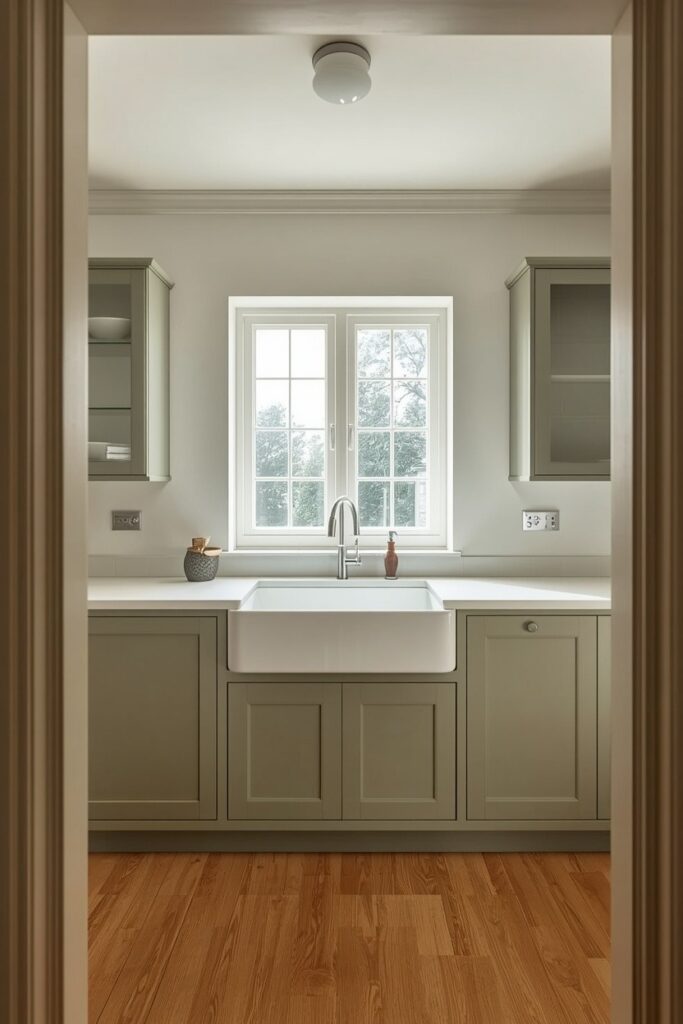
Consolidate. One caddy or a small tray holds soap and brush; everything else goes under the sink in a pull-out or a caddy of its own. Decant washing-up liquid into a simple pump bottle if the branded packaging bothers you, though be aware you’re then washing and refilling a bottle, which not everyone keeps up. Two practical points: let brushes and sponges drain rather than sitting in a puddle, and keep the caddy off any stone or timber worktop where standing water can leave a mark over time.
11. Run the five-minute reset every night
No organising system survives contact with an ordinary Tuesday. What keeps counters clear is not the system but the reset, and it needs to be short enough that you’ll do it when you’re tired.
Set a timer for five minutes after dinner. Everything goes back to its zone, the paper goes to its pocket, the counters get wiped in one pass, and the sink is left empty. That last detail matters more than it sounds — walking into a kitchen with an empty sink in the morning makes you more likely to keep it that way, and walking into one with last night’s pans makes you less likely. Five minutes daily beats two hours on Saturday, every time.
12. Run a quarterly edit with a holding box
Kitchens drift. Gadgets arrive as gifts, jars accumulate, and six months later the counters are creeping again — so build in a scheduled correction rather than waiting for the frustration to reach a threshold.
Every three months, take anything that has crept back onto the counter and anything you suspect you don’t use, and put it in a cardboard box in the garage or the back of a cupboard. Date the box. If you have not gone to retrieve something within three months, you do not use it, and you can pass it on without the agonising. This is a far kinder test than deciding in the moment, because it removes the “but I might need it” argument entirely — you have already run the experiment.
Where I’d start if I only did three things
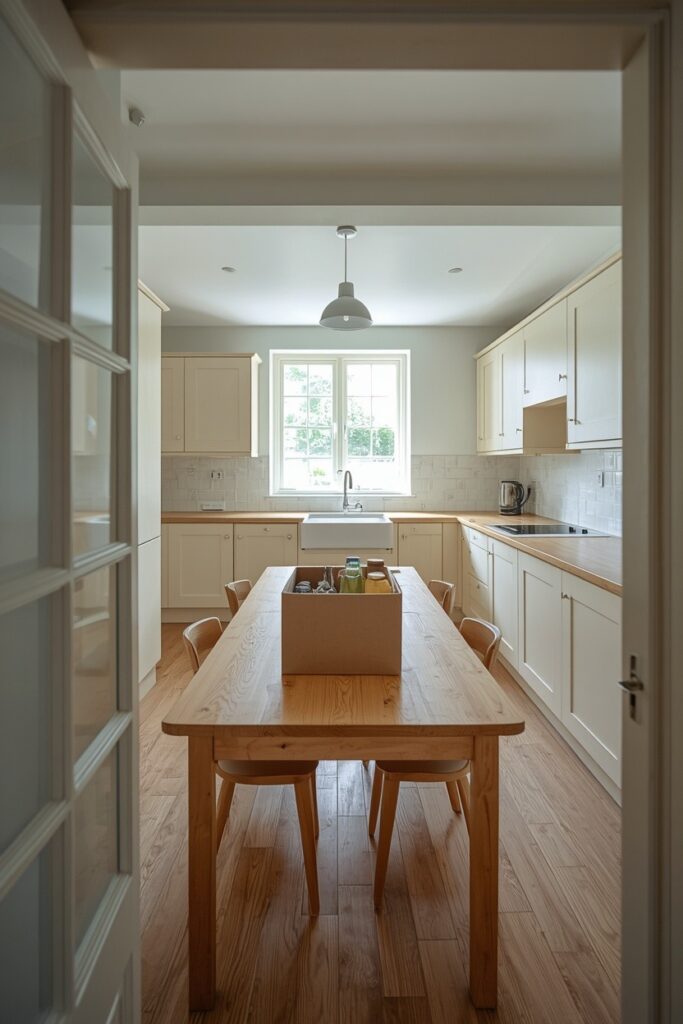
Clear everything off and apply the daily-use test. Defend one long prep run. Do the five-minute nightly reset.
That trio is the whole system in miniature — a hard edit to establish the baseline, one protected surface so the kitchen stays usable, and a daily habit that returns things to where the edit put them. Trays, canisters, and rails are all worth having, but they organise what’s left. They don’t decide what stays, and buying them first is why so many kitchens end up with tidy clutter rather than clear counters.
FAQ
What if I’m renting and can’t change any of the storage?
Everything on this list works without touching the units. Zoning, the daily-use test, trays, decanting, and the nightly reset need no permission at all. Where rented kitchens hurt is capacity, so borrow space elsewhere: a slim rolling cart in a gap beside the fridge, a shelf unit on an empty wall, or a nearby cupboard for overflow. Command-style hooks and tension rods add hanging storage inside cabinet doors without leaving a mark.
My kitchen is tiny with almost no counter — how does this apply?
It applies more strictly, not less. In a small kitchen the counter is your only work surface, so the daily-use test gets ruthless: kettle stays, toaster probably goes in a cupboard, everything else lives elsewhere. Use a chopping board over the sink or a pull-out board to borrow work surface when you need it, and take storage upward onto walls since floor and counter space are what you lack. One protected prep run of 24 inches is non-negotiable even in the smallest kitchen.
How do I get the rest of the household to keep it up?
Make the correct action the easy one and the rules visible. People put things away when the destination is obvious and close — that’s why zoning and point-of-use storage matter more than any lecture. Label the inside of a few cupboards if that helps. Then keep the shared reset genuinely short: five minutes with everyone doing one zone is achievable, and asking three people for an hour on a Sunday is not.
Does keeping things on the counter make them harder to clean around?
Yes, and near the hob it’s worse than most people realise. Airborne grease combines with dust into a film that bonds to anything within a few feet of cooking, which is why the oil bottle beside the hob gets tacky and the utensil crock needs washing rather than wiping. Keep that zone to the few items you use daily and can put through the dishwasher, use a tray so you can lift and wipe in one go, and avoid storing open food or rarely-used equipment anywhere near the hob.
Conclusion
Clear counters are a set of decisions, not a set of containers. Decide what earns a place, decide what each stretch of surface is for, and spend five minutes a night putting things back where those decisions said they go — the kitchen will look after itself from there.